Because of their portability, folding kayaks are the most versatile type of kayak. While many kayakers don’t know much about folding kayaks, they are more popular than hardshell kayaks. A majority of folding kayaks are skin-on-frame kayaks, which have been around for thousands and years.
It can be challenging to understand the construction and assembly if you haven’t seen one before. The body of a folding kayak is divided into several stages.
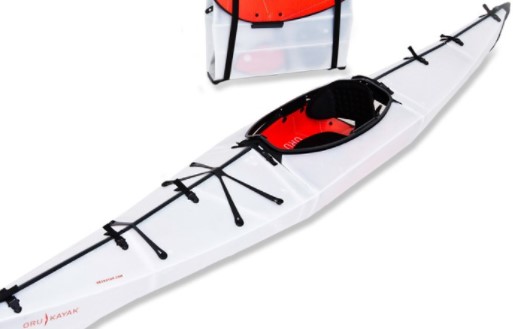
(1) Take the kayak parts out from the bag.
(2) Assembling the frame or any parts.
(3) Insert the frame into the hull
(4) Tighten the frame within the hull.
(5) Add the seat and rudder.
(1) Take the kayak parts out from the bag.
Most folding kayaks come with a bag to hold all the pieces together and make it easier to move the kayak around while it is disassembled. The first step in assembling the kayak is to remove all the details. Many kayakers place all parts near where they will be placed in the kayak. It speeds up assembly as the pieces are easier to locate when it is time to put them together.
Many folding kayak owners color code the frames to make it easier to identify them during assembly. That can be done using colored electrical tape. You can also use colored cable ties to attach parts of the frame. Although folding kayak parts are usually well-labeled and easy to find, it is often easier and quicker to identify factors by color.
(2) Assemble the frame or pieces of it.
There are many options for folding kayak assembly. Frames for some folding kayaks are made in sections and then placed inside the hull. They will compare to a bag-shaped kayak. Other kayaks have the whole frame assembled before it is put inside the hull.
Many kayak frames will fold from aluminum tubing or wood. Frame members may have hinges that allow them to pack into smaller spaces. They can also be snapped together with button-snaps and other clips. Most kayaks will be assembled by hand.
(3) Inserting the frame into the hull
The frame may be placed inside the hull by launching the first half inside one end and the other in the opposite end. The whole structure can be put into the hull from its stern (rear) end of the kayak has a complete frame.
The hull is typically made from pliable fabric. However, some kayaks come with rigid guides to ensure that the frame rests correctly.
(4) Fix the frame within the hull.
Once the frame has been installed, it is necessary to tighten the structure so that the hull (the kayak’s skin) is not loosening or sagging. Sectional-framed folding kayaks may use scissor-type straining. Here involves connecting the hinged frames at each end in a bent configuration and then pushing down or expanding into a refined design. It lengthens the frame and tightens the hull.
Other folding kayaks might use screw tensioning mechanisms or frames that can be extended with a lever and then kept in the extended position by button snaps.
(5) Add the seat, rudder, and other parts.
With the frame secure inside the hull, it is possible to add the rest of the parts. These parts include the seat, footrests, and rudder control lines.
The assembly of a folding kayak can take as long as an hour if you are assembling it for the first time. A folding kayak is made in 20 minutes if you have the right tools. In contests, folding kayaks were completed in 6 minutes or less! With practice and an efficient method, assembly times can be reduced significantly.